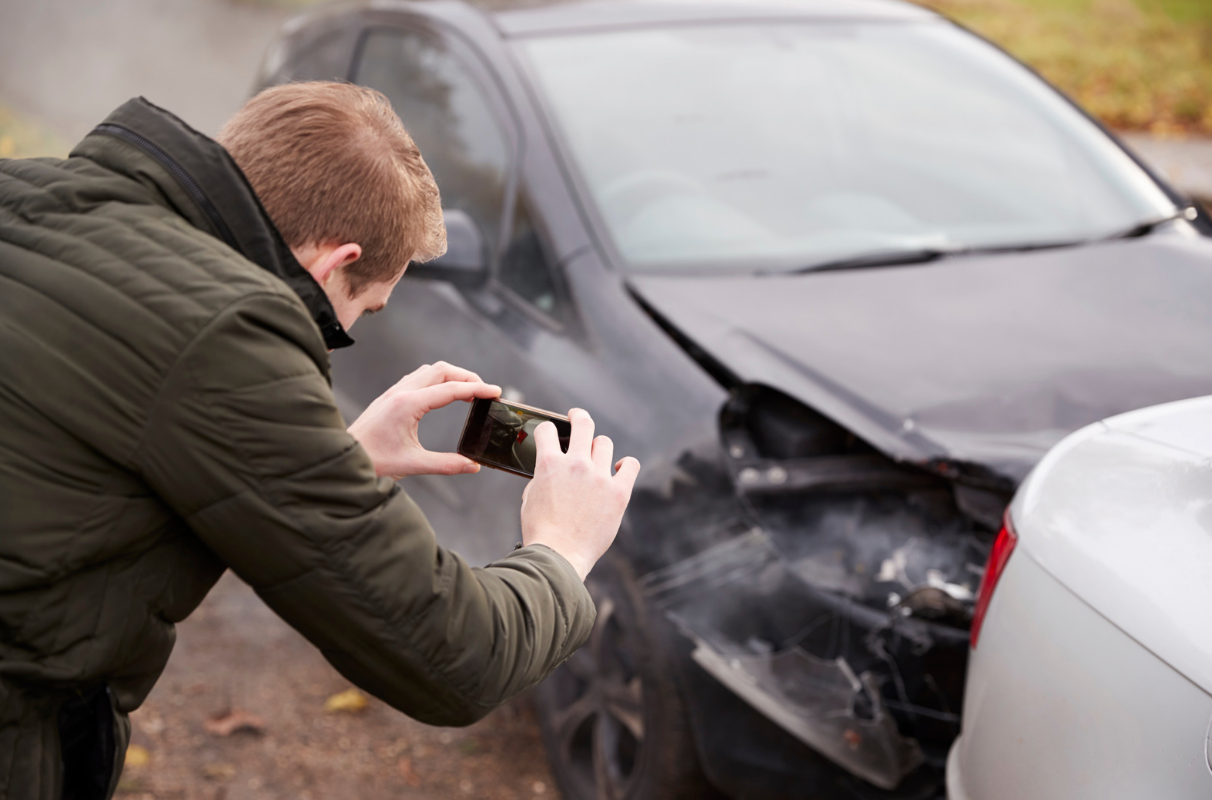
Taking great photos for car part listings

29 Nov 2023
Guide to Taking Great Photos for Car Parts
Capturing high-quality photos of car parts is essential for attracting buyers and building trust in your listings. Whether you’re selling small engine components or larger body panels, great visuals help buyers see the quality and condition of your items. In this guide, we’ll cover how to photograph various types of car parts, from small accessories to full-sized components, ensuring your listings stand out and get noticed.
Why Quality Photos Matter
High-quality photos are crucial when selling car parts because buyers want to see exactly what they’re purchasing. Blurry, poorly lit, or incomplete images can deter potential buyers. By taking clear, well-lit photos from multiple angles, you increase the chances of making a sale and reduce the likelihood of returns or disputes.
Setting Up Your Car Part Photo Studio
You don’t need an elaborate studio setup to take great photos, but having the right environment makes a difference. Here’s what you need:
1. Space: Choose a clean, well-lit area with minimal distractions.
2. Lighting: Natural light is best, but softbox lights or LED panels work well indoors. Avoid harsh shadows by using diffused lighting.
3. Backdrop: For small parts, a plain white or grey background works well. For larger items, use a tidy garage or a neutral wall.
4. Equipment: A smartphone with a high-resolution camera is sufficient. Use a tripod to avoid shaky shots.
5. Cleaning Supplies: Ensure your parts are clean and free from dust and grease to give a polished look.
Photographing Small Parts (e.g., Nuts, Bolts, and Sensors)
When photographing small parts like nuts, bolts, or sensors, focus on close-up shots to capture details such as part numbers, threading, and condition. Use a macro lens if possible. Lay the part flat against a white background and position your light source to minimize shadows.
Photographing Medium Parts (e.g., Brake Discs, Headlights)
For mid-sized parts like brake discs or headlights, place the item on a clean, stable surface. Use a side and top lighting setup to highlight both the shape and surface details. Capture images from different angles, including a close-up of any identifying marks or labels.
Photographing Large Parts (e.g., Doors, Bumpers, Engine Blocks)
Large car parts require a spacious setup. Use a garage or outdoor area with good lighting. Photograph the item from multiple angles, including close-ups of any damage or unique features. Position the part against a neutral background to avoid clutter.
How to Photograph Car Parts Inside the Vehicle
Sometimes, parts are best photographed while still installed. For items like exhaust systems or interior accessories, ensure the area is clean and well-lit. Use your camera’s flash sparingly to avoid glare. Capture wide shots to show context, followed by close-ups for detail.
Best Practices for All Car Part Photography
1. Consistency: Keep a uniform look across all your listings.
2. Multiple Angles: Front, back, side, and any important features.
3. Focus on Details: Clearly show part numbers, branding, and any wear.
4. Clean and Presentable: Wipe down parts before photographing.
5. Editing: Adjust brightness and contrast, but don’t mislead.
Post-Processing Tips
Editing photos can enhance clarity and appeal. Use basic photo editing software to adjust lighting and remove background distractions. Crop images to focus on the part and resize them for optimal online display.
Taking great photos of car parts doesn’t have to be complicated. By following these tips, you can create clear, professional-looking listings that attract more buyers. Remember, quality photos reflect the quality of your parts, so take the time to get it right!
Looking for more tips on selling car parts? Check out our other guides on ifndautoparts!
29 Nov 2023
Tags
Tags

